
A Guide to Configuring Auto-Join Preferences for the Quil Note Taker Bot
1. Log into Quil:
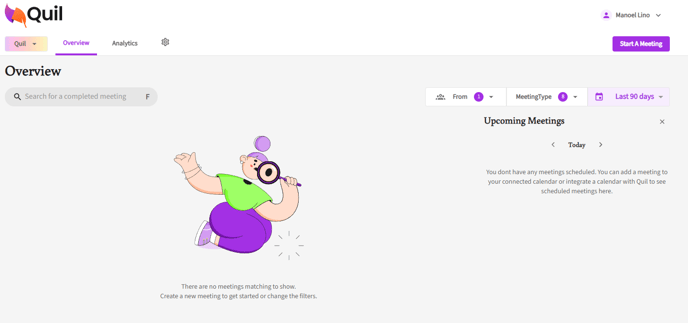
- Start by logging into your Quil account. Once logged in, you'll be directed to the overview page.
2. Access Profile Settings:
In the top right corner of the overview page, you'll see your name. Right click it, and then select "Profile" from the dropdown menu.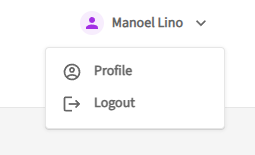
3. Configure Call Preferences:
- In your profile settings, scroll down to the "Call Preferences" section. Here, you’ll find two key options:
- Bots Auto Join External Calls: When enabled, the bot will automatically join any external calls that are on your schedule.
- Bots Auto Join Internal Calls: When enabled, the bot will automatically join internal calls as determined by your schedule.
- Internal vs. External Calls: External calls involve participants with different email domains; internal calls involve participants with the same domain as yours

Note: If your calendar has already been integrated before this step, please set-up your settings, disconnect the integration, and reconnect it again.
4. Removing Auto Join from a Single Meeting
- If you wish to remove Auto Join for a specific upcoming meetings, you can do so by clicking on the overflow menu (3 dots as shown above) and deselecting "Bot Auto Joins"

If only removing bot auto join settings via this method you do not need to complete step 6.
5. Verify Upcoming Meetings:
- To check which meetings the bot will join, return to the overview page. Under the "Upcoming Meetings," column, you will see a list of meetings Quil has identified, and will automatically join based on your settings.
- If the upcoming meeting has a purple tag that says "Auto Join", then Quil's note taker will automatically join.

6. Integrate Your Calendar:
- To ensure the bot joins your meetings, you will need to integrate your calendar with Quil. Click on the gear icon and select "Integrations." From there, you can link your Google or Microsoft Outlook calendar. Once integrated, the bot will be automatically updated with your meetings and join them according to your configured preferences.

If you require additional help, reach out to your main point of contact at Quil or email support at support@quil.ai.